

This post is accompanied by a sample application that can be found on GitHub. Feel free to clone the repository and try it out yourself.
The UI
We will not discuss the UI elements in detail, but will focus instead on calculations and Java code. The code below is from the sample application's layout file. The layout contains three TextView elements for displaying magnetic heading, true heading and magnetic declination values. The ImageView contains an image resembling a compass. The image will be programmatically rotated with animation, based on magnetic heading value.
<?xml version="1.0" encoding="utf-8"?>
<androidx.constraintlayout.widget.ConstraintLayout xmlns:android="http://schemas.android.com/apk/res/android"
    xmlns:app="http://schemas.android.com/apk/res-auto"
    xmlns:tools="http://schemas.android.com/tools"
    android:layout_width="match_parent"
    android:layout_height="match_parent"
    tools:context=".MainActivity"
    android:background="#e7cf8a"
    >

    <LinearLayout
        android:id="@+id/linear_layout_values"
        android:layout_width="match_parent"
        android:layout_height="wrap_content"
        app:layout_constraintBottom_toTopOf="@+id/image_compass"
        app:layout_constraintLeft_toLeftOf="parent"
        app:layout_constraintRight_toRightOf="parent"
        app:layout_constraintTop_toTopOf="parent"
        app:layout_constraintVertical_chainStyle="spread">

        <TextView
            android:id="@+id/text_view_magnetic_declination"
            android:layout_width="0dp"
            android:layout_height="wrap_content"
            android:layout_weight="1"
            android:gravity="center"
            android:textStyle="bold" />

        <TextView
            android:id="@+id/text_view_heading"
            android:layout_width="0dp"
            android:layout_height="wrap_content"
            android:layout_weight="1"
            android:gravity="center"
            android:textStyle="bold" />

        <TextView
            android:id="@+id/text_view_true_heading"
            android:layout_width="0dp"
            android:layout_height="wrap_content"
            android:layout_weight="1"
            android:gravity="center"
            android:textStyle="bold" />

    </LinearLayout>

    <ImageView
        android:id="@+id/image_compass"
        android:layout_width="0dp"
        android:layout_height="wrap_content"
        android:adjustViewBounds="true"
        android:src="@drawable/compass"
        app:layout_constraintBottom_toBottomOf="parent"
        app:layout_constraintLeft_toLeftOf="parent"
        app:layout_constraintRight_toRightOf="parent"
        app:layout_constraintTop_toBottomOf="@+id/linear_layout_values"
        app:layout_constraintWidth_percent="0.8" />

</androidx.constraintlayout.widget.ConstraintLayout>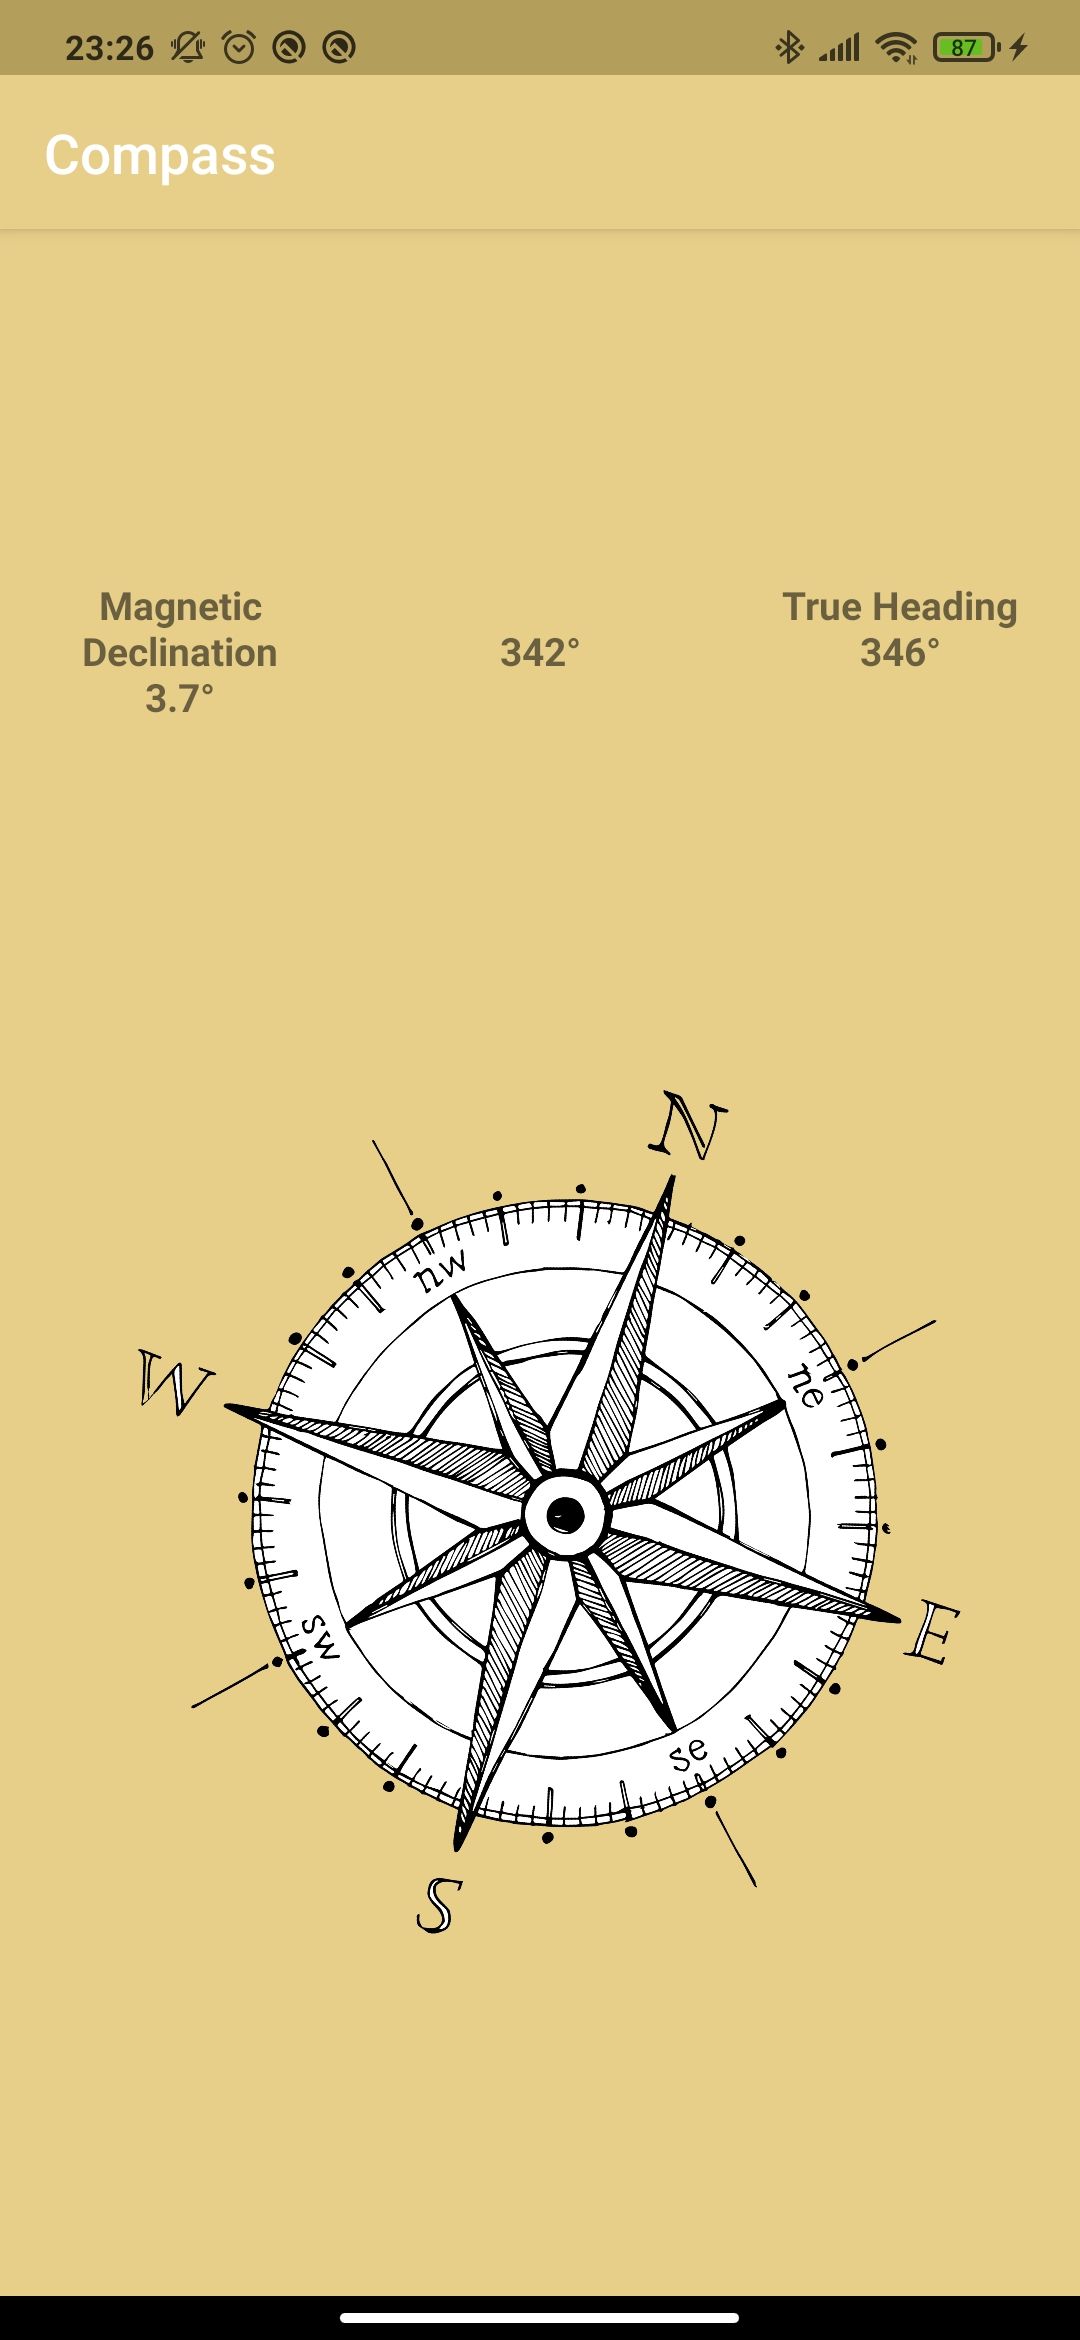
The Sensors & Tilt Compensation
A magnetometer is a sensor used for measuring magnetic fields. A magnetometer can measure Earth's magnetic field if not influenced by a strong nearby magnetic field. The sensor provides magnetic field strength along three axes X, Y and Z in micro Tesla (μT).
Earth's magnetic field is parallel to Earth's surface. If a device is parallel to Earth's surface, heading can be measured by using a magnetometer's X and Y components. However if the device is tilted, the heading value will no longer be accurate and tilt compensation should be performed by utilizing an accelerometer.
An accelerometer is a sensor that measures acceleration along the three axes X, Y and Z in meter per second squared (m/s2). Accelerometer readings will be used for magnetometer correction.
Obtaining Sensor Readings on Android
Sensor readings are obtained through the SensorManager API. Create a global SensorManager object and initialize it in the activity's OnCreate method.
private SensorManager sensorManager;

...

sensorManager = (SensorManager) getSystemService(Context.SENSOR_SERVICE);
In the OnResume method, register listeners on accelerometer and magnetic field sensors. We should also unregister the listeners in the OnPause method in case the application is closed.
    @Override
    protected void onResume() {
        super.onResume();

        Sensor accelerometer = sensorManager.getDefaultSensor(Sensor.TYPE_ACCELEROMETER);
        if (accelerometer != null) {
            sensorManager.registerListener(this, accelerometer,
                    SensorManager.SENSOR_DELAY_GAME, SensorManager.SENSOR_DELAY_GAME);
        }

        Sensor magneticField = sensorManager.getDefaultSensor(Sensor.TYPE_MAGNETIC_FIELD);
        if (magneticField != null) {
            sensorManager.registerListener(this, magneticField,
                    SensorManager.SENSOR_DELAY_GAME, SensorManager.SENSOR_DELAY_GAME);
        }
    }


    @Override
    protected void onPause() {
        super.onPause();
        sensorManager.unregisterListener(this);
    }
Following that, implement the interface SensorEventListener and let Android Studio automatically implement the interface's method. The implemented method onSensorChanged will be called whenever new sensor values are received. Updated sensor values can be obtained from the SensorEvent argument.
In the code snippet below, we are receiving updated sensor values, passing them to our low-pass filter, then calling the updateHeading() function. The low-pass filter and heading calculation will be discussed in upcoming sections.
    private final float[] accelerometerReading = new float[3];
    private final float[] magnetometerReading = new float[3];

	...

        @Override
    public void onSensorChanged(SensorEvent event) {
        if (event.sensor.getType() == Sensor.TYPE_ACCELEROMETER) {
            //make sensor readings smoother using a low pass filter
            CompassHelper.lowPassFilter(event.values.clone(), accelerometerReading);
        } else if (event.sensor.getType() == Sensor.TYPE_MAGNETIC_FIELD) {
            //make sensor readings smoother using a low pass filter
            CompassHelper.lowPassFilter(event.values.clone(), magnetometerReading);
        }
        updateHeading();
    }
Calculating Magnetic Heading
There are several methods for tilt compensation. We will use vector cross product method to obtain a tilt compensated heading angle (azimuth).
Magnetic heading is obtained by performing the following:
- Calculating the cross product of the magnetic field vector and the gravity vector to get a new vector H
- Normalizing the values of the resulting vector H and of the gravity vector
- Calculating the cross product of the gravity vector and the vector H to get a new vector M pointing towards Earth's magnetic field
- Using arctangent to obtain heading in radians
- Converting the angle from radians to degrees
- Mapping the heading angle from [-180,180] range to [0, 360] range
The functions below implement these steps.
    public static float calculateHeading(float[] accelerometerReading, float[] magnetometerReading) {
        float Ax = accelerometerReading[0];
        float Ay = accelerometerReading[1];
        float Az = accelerometerReading[2];

        float Ex = magnetometerReading[0];
        float Ey = magnetometerReading[1];
        float Ez = magnetometerReading[2];

        //cross product of the magnetic field vector and the gravity vector
        float Hx = Ey * Az - Ez * Ay;
        float Hy = Ez * Ax - Ex * Az;
        float Hz = Ex * Ay - Ey * Ax;

        //normalize the values of resulting vector
        final float invH = 1.0f / (float) Math.sqrt(Hx * Hx + Hy * Hy + Hz * Hz);
        Hx *= invH;
        Hy *= invH;
        Hz *= invH;

        //normalize the values of gravity vector
        final float invA = 1.0f / (float) Math.sqrt(Ax * Ax + Ay * Ay + Az * Az);
        Ax *= invA;
        Ay *= invA;
        Az *= invA;

        //cross product of the gravity vector and the new vector H
        final float Mx = Ay * Hz - Az * Hy;
        final float My = Az * Hx - Ax * Hz;
        final float Mz = Ax * Hy - Ay * Hx;

        //arctangent to obtain heading in radians
        return (float) Math.atan2(Hy, My);
    }


    public static float convertRadtoDeg(float rad) {
        return (float) (rad / Math.PI) * 180;
    }

    //map angle from [-180,180] range to [0,360] range
    public static float map180to360(float angle) {
        return (angle + 360) % 360;
    }
Implementing a Low-Pass Filter for Smoother Sensor Data
Using sensor data directly results in jittery heading values and compass rotation. Different filters can be used for obtaining smoother sensor data. However, filter algorithms can be very complex. We will implement a simple low-pass filter that provides us with nice and smooth results. Check the references section for further discussion on filters.
    //0 ≤ ALPHA ≤ 1
    //smaller ALPHA results in smoother sensor data but slower updates
    public static final float ALPHA = 0.15f;

    public static float[] lowPassFilter(float[] input, float[] output) {
        if (output == null) return input;

        for (int i = 0; i < input.length; i++) {
            output[i] = output[i] + ALPHA * (input[i] - output[i]);
        }
        return output;
    }
Magnetic Declination and True Heading
Magnetized compass needles and magnetometers point towards Earth's magnetic field. Thus, magnetic declination value is required to obtain true heading. Magnetic declination is defined as the angle between magnetic north and true north. Declination is positive east of true north and negative when west.
true heading = magnetic heading + magnetic declination
Magnetic declination varies over time and with location. The change of magnetic field was observed over a period of years and two Geomagnetic models were created: International Geomagnetic Reference Field (IGRF) and World Magnetic Model (WMM). We will use the open source Java implementation of the WMM created by Los Alamos National Laboratory to calculate magnetic declination. WMM's coefficients have been updated in 2020 and are valid for five years. Longitude, latitude and altitude are required to calculate magnetic declination.
    public static float calculateMagneticDeclination(double latitude, double longitude, double altitude) {
        TSAGeoMag geoMag = new TSAGeoMag();
        return (float) geoMag
                .getDeclination(latitude, longitude, geoMag.decimalYear(new GregorianCalendar()), altitude);
    }
Getting Last Known Location
To obtain longitude, latitude and altitude, we will use the FusedLocationProviderClient to get the user's last known location. This client is provided by Google Play services. Check the developer guides in the references section for more details on setting up and using the FusedLocationProviderClient.
Make sure to include Google Play location services as a dependency in the build.gradle file, and to include the required location permissions in the AndroidManifest.xml file.
<uses-permission android:name="android.permission.ACCESS_FINE_LOCATION" />Create and initialize a FusedLocationProviderClient object. However before requesting location data, we have to check if user has granted location permissions to the application. If permissions are not already granted, a prompt should be presented to the user requesting location permissions.
        fusedLocationClient = LocationServices.getFusedLocationProviderClient(this);

        //check if we have permission to access location
        if (ContextCompat.checkSelfPermission(
                this, Manifest.permission.ACCESS_FINE_LOCATION) ==
                PackageManager.PERMISSION_GRANTED) {
            //fine location permission already granted
            getLocation();
        } else {
            //if permission is not granted, request location permissions from user
            ActivityCompat.requestPermissions(this,
                    new String[]{Manifest.permission.ACCESS_FINE_LOCATION},
                    REQUEST_PERMISSION_FINE_LOCATION);
        }
The method onRequestPermissionsResult should also be implemented to handle the location permissions result provided by the user. If the user rejects the permission prompt, an error message will be displayed.
    @Override
    public void onRequestPermissionsResult(int requestCode, String[] permissions,
                                           int[] grantResults) {
        if (requestCode == REQUEST_PERMISSION_FINE_LOCATION) {
            //if request is cancelled, the result arrays are empty.
            if (grantResults.length > 0 &&
                    grantResults[0] == PackageManager.PERMISSION_GRANTED) {
                //permission is granted
                getLocation();
            } else {
                //display Toast with error message
                Toast.makeText(this, R.string.location_error_msg, Toast.LENGTH_LONG).show();
            }
        }
    }
If location permissions were granted, the function getLocation will be called to retrieve the required location data from the FusedLocationProviderClient, and to calculate magnetic declination.
    @SuppressLint("MissingPermission") //suppress warning since we have already checked for permissions before calling the function
    private void getLocation() {
        fusedLocationClient.getLastLocation()
                .addOnSuccessListener(this, new OnSuccessListener<Location>() {
                    @Override
                    public void onSuccess(Location location) {
                        // Got last known location. In some rare situations this can be null.
                        if (location != null) {
                            isLocationRetrieved = true;
                            latitude = (float) location.getLatitude();
                            longitude = (float) location.getLongitude();
                            altitude = (float) location.getAltitude();
                            magneticDeclination = CompassHelper.calculateMagneticDeclination(latitude, longitude, altitude);
                            textViewMagneticDeclination.setText(getString(R.string.magnetic_declination, magneticDeclination));
                        }
                    }
                });
    }
Wrapping it All Up
Now that we have written all supporting code, what remains is calculating heading and updating the UI accordingly. The function updateHeading is called by onSensorChanged on every sensor value change event. It calculates magnetic heading, then checks if location data is available and calculates true heading. Finally, TextView elements are updated, and the compass image is rotated with animation to simulate a real compass.
    private void updateHeading() {
        //oldHeading required for image rotate animation
        oldHeading = heading;

        heading = CompassHelper.calculateHeading(accelerometerReading, magnetometerReading);
        heading = CompassHelper.convertRadtoDeg(heading);
        heading = CompassHelper.map180to360(heading);

        if(isLocationRetrieved) {
            trueHeading = heading + magneticDeclination;
            if(trueHeading > 360) { //if trueHeading was 362 degrees for example, it should be adjusted to be 2 degrees instead
                trueHeading = trueHeading - 360;
            }
            textViewTrueHeading.setText(getString(R.string.true_heading, (int) trueHeading));
        }

        textViewHeading.setText(getString(R.string.heading, (int) heading));

        RotateAnimation rotateAnimation = new RotateAnimation(-oldHeading, -heading, Animation.RELATIVE_TO_SELF, 0.5f, Animation.RELATIVE_TO_SELF, 0.5f);
        rotateAnimation.setDuration(500);
        rotateAnimation.setFillAfter(true);
        imageViewCompass.startAnimation(rotateAnimation);
    }
References
- SensorManager API Android open source implementation
- W3 Absolute Orientation Sensor
- Matlab E-Compass Algorithms
- Thom Nichols - Smoothing sensor data with a low pass filter
- W3 Low and high pass filters
- NOAA - Magnetic Declination
- NOAA - Geomagnetic Models Software Implementation
- Android Location Developer Guide
- Android Permissions Developer Guide